
Car Seat Checklist
Car seats and booster seats protect infants and children in crashes, yet car crashes remain a leading cause of death for kids between the ages of 1 and 13. To maximize safety, choose the right seat and use it correctly every time.
The American Academy of Pediatrics (AAP) advises that all infants and toddlers ride rear-facing until they reach the top weight or height allowed by their seat’s manufacturer.
Use these tips to make sure your child is riding as safely as possible on every trip.
Why a checklist matters
Consistency saves lives. Busy days make it easy to skip steps; a simple routine prevents mistakes that can reduce a carseat’s effectiveness.
Car crashes happen quickly and without warning but proper installation ensures children are as safe as possible on every drive.
Before you leave the house
Understand Nevada’s laws regarding children traveling in cars*
Children under 2 years old must ride in a rear-facing safety seat in the back seat of the vehicle.
Any child less than 6 years of age who is less than 57 inches tall must ride in an approved child seat.
Passengers under 18 may not ride in the back of a pickup or flatbed truck.
Choose the right seat for your child’s weight and height and maximize the limits before moving to the next stage.
Rear-facing for infants and toddlers for as long as possible
Forward-facing with a harness when they outgrow rear-facing height or weight limit
Booster when they outgrow forward-facing harness until the vehicle seat belt fits correctly (around 4’9” tall)
Check expiration date and recalls. Carseats have expiration dates and can be recalled.
Inspect for damage. No cracks in the shell, missing parts, or frayed straps.
Installing the seat
Read both vehicle and carseat manuals. Installation methods can vary by model.
Park the vehicle on level ground in order to confirm the recline angle is correct after installation.
Use the lower anchors (LATCH / ISOFIX) or the vehicle seat belt but not both unless the carseat manual allows it**.
Ensure the seat is installed securely with no more than 1 inch of movement side-to-side at the belt path and that there are no twists in the belts.
Confirm the recline angle is correct. If the angle is not correct, release the seat belt or LATCH connectors, adjust the angle and reinstall the seat. Repeat this until the angle is correct. An improper angle can impede a baby’s airway.
When forward facing (and on some rotating seats regardless of direction) require the use of the top tether. Always attach the top tether and tighten it to reduce forward motion in a crash.
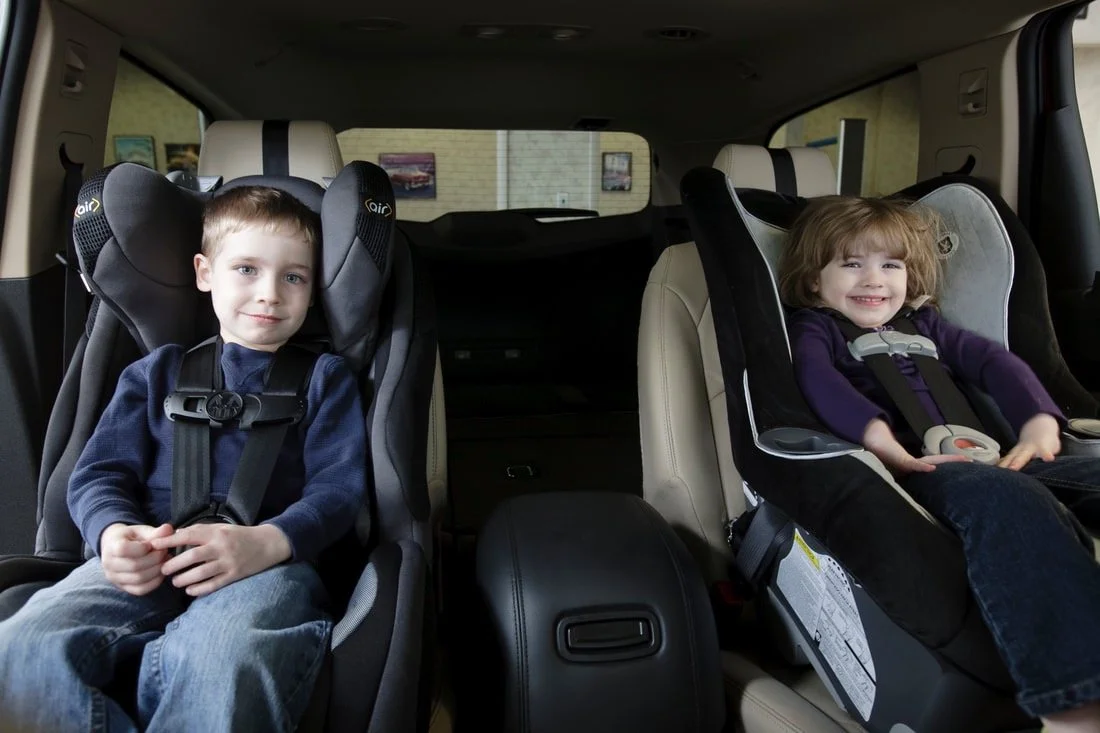
Securing your child every ride
Harness height and chest clip:
For rear-facing, straps should be at or just below the shoulders
For forward-facing, straps should be at or just above the shoulders
Regardless of direction, the chest clip should always be at armpit level
Snug harness test: Tighten the harness so you cannot pinch any webbing at the shoulder (AKA the “pinch test”).
Bulky clothes and blankets: In winter or rainy seasons, remove big coats or snowsuits before buckling; use thin layers in the car seat and place a blanket over the harness after buckling for warmth.
Positioning: Keep the harness straps flat and untwisted. Buckle and clip every belt and harness for every passenger.
Special considerations
Ensure anyone in your family installing or moving a car seat knows how to install it correctly.
Airplanes: “If children use car seats in the car, use them on planes too.” Although not all car seats are airplane approved, the FAA strongly recommends using one on airplanes. Children who need a car seat will need it when you land, so if you travel often pick an airplane compatible seat. Check airline rules and seat approval before you go.
After a crash: After any crash—big or small—follow the car seat manufacturer’s rules in the manual or contact the manufacturer if you can’t find guidance.
Long-term safety and convenience
Know the transition points: monitor weight and height limits so you don’t switch too early from rear-facing, harness to booster, or booster to adult belt.
Teach older children how the seatbelt should fit: lap belt low on hips, shoulder belt across the chest and shoulder—not under the arm or behind the back.
Keep records: note purchase date, model number, and register with the manufacturer to receive recall notices.
Find help when needed: Some local fire stations, police departments and hospitals have Child Passenger Safety Technicians (CPST) on staff that can professionally install your child’s car seat. A full list of CPST in your city can also be found of the Safe Kids website here. A professional check gives confidence your seat is installed correctly.
Final quick checklist to use every ride
Right seat for child’s size and age?
Seat properly installed (≤1 inch movement at belt path)?
Top tether attached for forward-facing?
Harness at correct height and chest clip at armpit level?
Harness snug (no pinch)?
No bulky clothing under the harness?
All belts and buckles fastened and straps untwisted?
Make this checklist part of your routine; Sing a short song, count to three, or use a sticky note in the car. Small habits create big safety wins.
* NRS 484D.495, 484B.157 and 484B.160
** As of March 2026 there are only 2 seats on the market that allow both lower anchors and seat belt but this method is optional for both.
Thank you to our sponsors, donors, and community partners!